Quick answer: Before your first day of casual relief teaching, set up your Relief Ready profile, gather your documentation (teacher registration, ID, working with children check), prepare backup lesson plans, save key school contacts, and pack classroom essentials. A clear checklist keeps you organized and ready to walk into any classroom with confidence.
Starting out in casual relief teaching is exciting, but it can also feel overwhelming. You might receive a booking the night before—or even the morning of—and have little time to prepare. The key to staying calm is preparation done well in advance.
This checklist walks you through everything you need before your first day, from documentation to classroom essentials. Work through each step, and you’ll arrive ready for whatever the day throws at you.
How do I set up my relief teaching profile?
Your first step is getting organized digitally. A well-managed profile helps you track bookings, availability, and school details in one place.
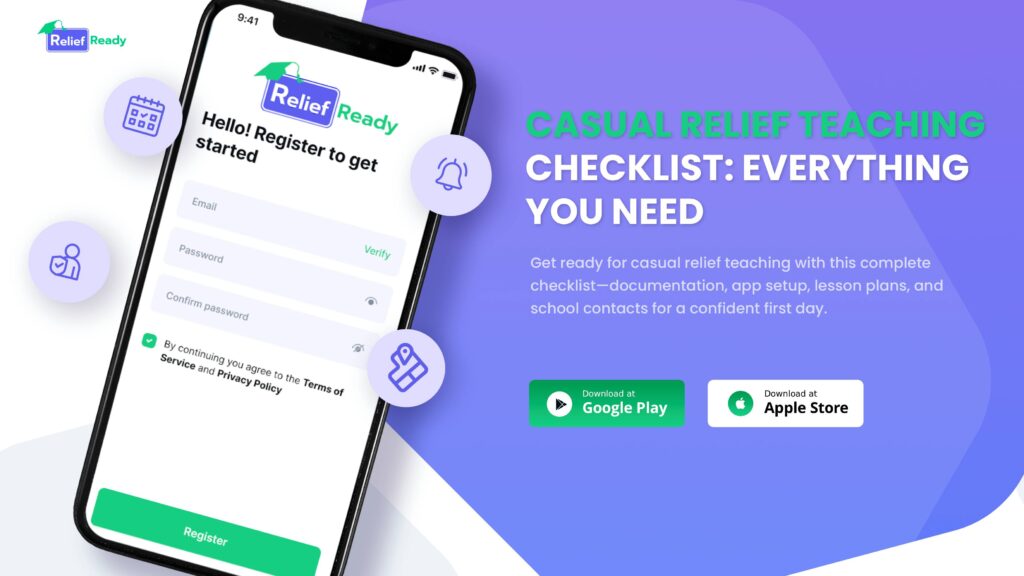
Download the Relief Ready app and create your profile. This casual relief teacher app for Australian teachers lets you record accepted jobs, update your availability, and review past work from a single dashboard. Setting this up first means you won’t be juggling texts, emails, and scattered notes when bookings start rolling in.
Add your contact details, qualifications, and the schools or year levels you’re available to work with. The more complete your profile, the smoother your bookings will run.
What should I bring as a casual relief teacher?
Documentation is non-negotiable. Schools need to confirm you’re qualified and cleared to work with students. Keep these items ready to go:
- Teacher registration or accreditation (current and valid for your state or territory)
- Working with Children Check (or equivalent for your state)
- Photo ID (driver’s license or passport)
- Bank and superannuation details for payroll setup
- Copies of your qualifications and any relevant certifications
Keep digital copies on your phone and printed copies in your bag. If a school asks for something on the spot, you’ll have it covered.
App setup checklist
Once Relief Ready is installed, take a few minutes to configure it properly:
- Turn on notifications so you never miss a booking
- Enter your availability for the coming weeks
- Save your frequently visited schools
- Add notes for each school (parking, sign-in process, staff room location)
A few minutes of setup now saves real stress later.
Lesson plans checklist
You won’t always receive a detailed lesson plan from the absent teacher. Sometimes you’ll get nothing at all. Having backup activities ready is a lifesaver.
Prepare a small kit of go-to resources:
- Generic worksheets for different year levels and subjects
- Quiet reading activities for downtime
- Educational games or quizzes that need little setup
- Behavior management strategies written down for quick reference
- A whiteboard marker and pens (don’t assume the room will have spares)
Tailor your backups to the age groups you’re most likely to teach. A versatile kit means you’re never caught off guard.
School contact list checklist
Knowing who to call—and where to go—makes your morning far less stressful. Before each booking, save the key details:
- Main office phone number
- Name of the daily organizer or coordinator
- Sign-in procedure and arrival time
- Parking instructions
- Emergency and evacuation procedures
Store these in your Relief Ready notes so they’re always within reach.
What do I need to prepare for a casual relief teaching day?
The night before, set yourself up for an easy morning. Lay out your clothes, charge your phone, and pack your bag with the essentials:
- Your documentation (digital and printed)
- Your lesson plan kit
- Water bottle and a packed lunch
- Comfortable shoes for a day on your feet
- A positive, flexible attitude
Plan your route and aim to arrive at least 20 minutes early. This gives you time to sign in, find your classroom, and settle before students arrive.
Casual relief teaching offers genuine flexibility, but that freedom works best with structure behind it. If you’re weighing up the lifestyle, read more about balancing flexibility with job security as a relief teacher.
Walk in ready on day one
Your first day of casual relief teaching doesn’t have to be daunting. With your documentation sorted, your app configured, and your lesson kit packed, you’ll step into any classroom feeling prepared and professional.
Start with the foundation: download Relief Ready, set up your profile, and keep all your bookings and school details in one organized place. Get ready, get booked, and get teaching.
Frequently asked questions
What should I bring as a casual relief teacher?
Bring your teacher registration, Working with Children Check, photo ID, bank and super details, and copies of your qualifications. Pack both digital and printed copies, plus a lesson plan kit and basic classroom supplies like whiteboard markers.
How do I set up my relief teaching profile?
Download the Relief Ready app, then add your contact details, qualifications, and availability. Save the schools and year levels you want to work with, and turn on notifications so you never miss a booking.
What do I need to prepare for a casual relief teaching day?
The night before, pack your documentation, lesson plan kit, water, and lunch. Charge your phone, plan your route, and aim to arrive 20 minutes early to sign in and settle before students arrive.
How early should I arrive for a relief teaching booking?
Aim to arrive at least 20 minutes before the school day starts. This gives you time to sign in, locate your classroom, review any lesson notes, and prepare before students enter.